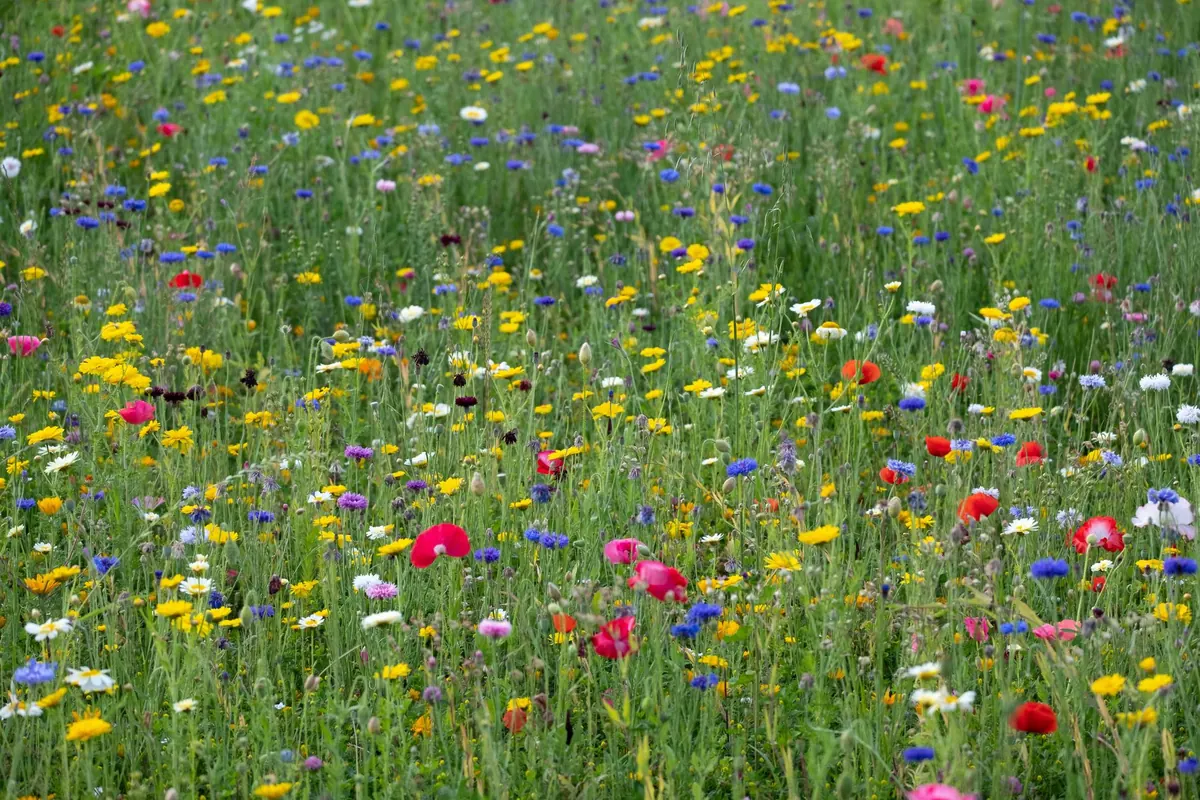
A Cotswold hay meadow in late June is not a tidy thing. It is ox-eye daisies leaning into ragged robin, buttercups catching the light, and a bee orchid hidden in the grass at your feet. Photographing that well has less to do with expensive glass than with timing, position and patience. And the good news for beginners: a kit lens and a willingness to kneel will get you most of the way.
Time It Right
Meadows are seasonal performances rather than permanent sets. On Cotswold limestone, cowslips open on short turf in April, colour builds through May, and hay meadows reach their peak in late June and early July. Mowing usually follows soon after, and the window shuts for another year. Many sites are nature reserves with cutting dates published online, so check before you travel and aim to visit a fortnight ahead of the mower.
The hour matters as much as the month
Arrive for the first ninety minutes after sunrise or stay for the last hour before sunset. Low sun rakes across seed heads, separates stems from the background and brings the warm light that makes wildflowers sing. Midday sun flattens the meadow, but it does one useful thing: it wakes the bees, butterflies and beetles. If insects are part of the picture, midday is not wasted.
Read the Light Before You Set Up
Light in a meadow behaves differently from light in a wide landscape, because your subject is a mass of small verticals, each one catching or losing the sun as it shifts.
Backlight
Put the sun in front of you, behind the flowers, and stems glow along their edges. Meter for those bright rims and let the shadows go dark. A slight underexposure keeps the highlights clean; lost shadow detail rarely matters here.
Side light
The workhorse. Early or late sun from the side shapes individual flowers and gives texture across the whole field, which is what separates a wildflower photograph from a colourful blur.
Overcast
Not a wasted day. Flat grey light flatters botanical detail and colour. Keep the bright sky out of the frame, or use it as a clean pale backdrop behind one stem you have chosen deliberately.
The sky is either a subject or a distraction. It is rarely both.
Composition: Get Low, Think in Layers
Most first attempts at a meadow are shot standing up, looking down at a blur of grass with a strip of sky on top. Drop to knee height, then to ground level. A camera resting on a folded jacket will change your pictures more than any filter.
- Find one hero flower. Isolate it against a soft mass of distant colour and focus there rather than on the middle distance.
- Use a mown path or bare strip as a leading line that carries the eye into the field.
- Place the horizon high or low. Halfway usually reads as indecision.
- Change height on purpose. Stand tall to show the meadow's scale in the landscape, then crouch to show its texture.
- Build layers. Sharp flowers in front, a hedge or wood softened behind, sky only if it earns its place.
- Hunt the oddity. One orchid among a thousand daisies, a poppy in a hay crop, a rusted gate at the field edge.
A long lens compresses those layers into a tapestry. A wide lens, held low, exaggerates the nearest flowers and makes the meadow feel vast. Both work, so try both deliberately on the same subject and see which suits you.
Exposing a Busy Scene
Pale daisies and buttercups reflect a great deal of light, and cameras tend to read the scene as brighter than it looks. The result is blown white petals with no detail left in them. A few habits fix this.
- Switch on the highlight warning and check it after the first frame, not the fiftieth.
- Meter for the brightest flower rather than the whole scene — spot metering with exposure locked, or manual.
- Apply negative exposure compensation, a third to a full stop, whenever pale petals start to clip.
- Work between f/8 and f/13 for depth, and focus on the flower you actually care about. At close range, focus falls away fast.
- Raise ISO to hold a shutter speed of 1/250 sec or faster when there is any breeze. A blurred flower cannot be rescued later.
Shoot raw if you can, and trust the histogram rather than the back screen, which lies in bright sun.
Kit That Helps
A polarising filter cuts glare from leaves and can deepen a blue sky, though over-rotate it and the meadow goes flat. A bin liner to kneel on, gardening gloves for thistles, and a beanbag let you get the camera to ground level without a tripod. If you own a macro lens, bring it; if not, extension tubes on a standard zoom will get you close enough for stamens and beetle backs.
Fieldcraft: Protect the Meadow
These are working habitats, not photo studios, and many Cotswold meadows are reserves or commons with grazing livestock. Walk on paths and field edges; if you go in, follow an existing track rather than making your own. Never pick wildflowers, and leave the ground as you found it. Close gates, keep dogs close, and give cattle and ponies plenty of room, particularly with a tripod in your hands. On private land, ask before you cross it.
Your First Morning Out
Pick a still morning after a clear night, check the site's mowing news, and be there before sunrise. Walk the edge once without the camera to find two or three flowers worth a frame, then set f/11, ISO 400, raw, highlight warning on. Spend twenty minutes on one flower rather than one minute on twenty. Start backlit, move round to side light, and stop when the sun goes hard and the contrast dies. The meadow will be cut within weeks — which is exactly why it photographs so well. Set the alarm.
Photo: Francesco Ungaro / Pexels